How To Install OpenIV on PC [A Complete Guide]
OpenIV‘s installation process is a bit confusing to most of the gamers. If you are also one of them don’t worry, we have shared a step by step guide with images to help you carryout the installation process easily.
In order to Install OpenIV on your personal computer or laptop, you must have already installed GTA 5 or GTA 4 through Steam or Rockstar Games client or Epic Games, etc. Below process also works well for people who have installed the pc version of GTA 5 & GTA 4 directly.
Install OpenIV for GTA 5 & GTA 4
- First of all, Download OpenIV Latest Version for your windows pc from the given link.
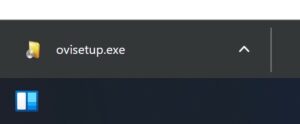
- Click the “ovisetup.exe” file as shown in the below image to start the installation process.
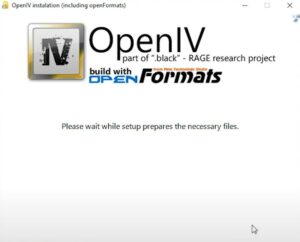
- Once you start installing the setup file, you will be able to see the welcome screen of openFormats.
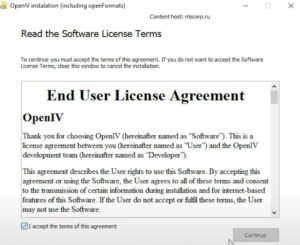
- Accept the terms of agreement in the next step now.
- Select the installation path and put a tick mark for the desktop shortcut option.
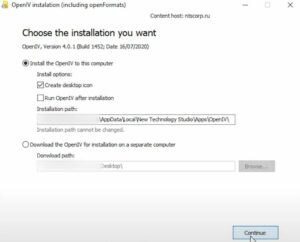
- Hit “Continue” button once you are done with the Install options.
- It’s time to tap “Yes” when you see a popup window as shown below.
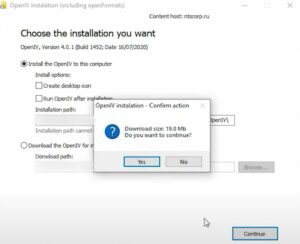
- That will now fetch all required files from the servers of the official site and install them on your pc.
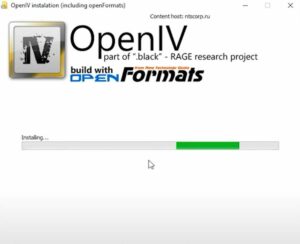
- Please wait while the setup is installing all required files on your pc and of course, you can see the progress of the installation.
- You will see something like in the below image once the installation is over.
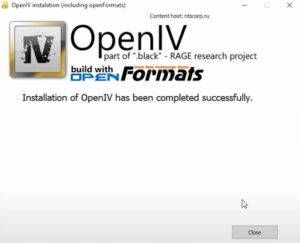
- Now you can launch the tool and start using it for tweaking the GTA 5 or GTA 4 or Red Dead Redemption 2 or Max Payne 3 or Episodes From Liberty City.
That’s all about the installation part buddies. We have written a detailed guide about edit mode, creating mods folder for you. Make sure to read that guide to understand various aspects of the tool. You can comment below if you have any questions or doubts about installing it on your windows pc.
End Note: We have used Windows 11 operating system and OpenIV v4.1 to show you the installation process with images in this article.
